
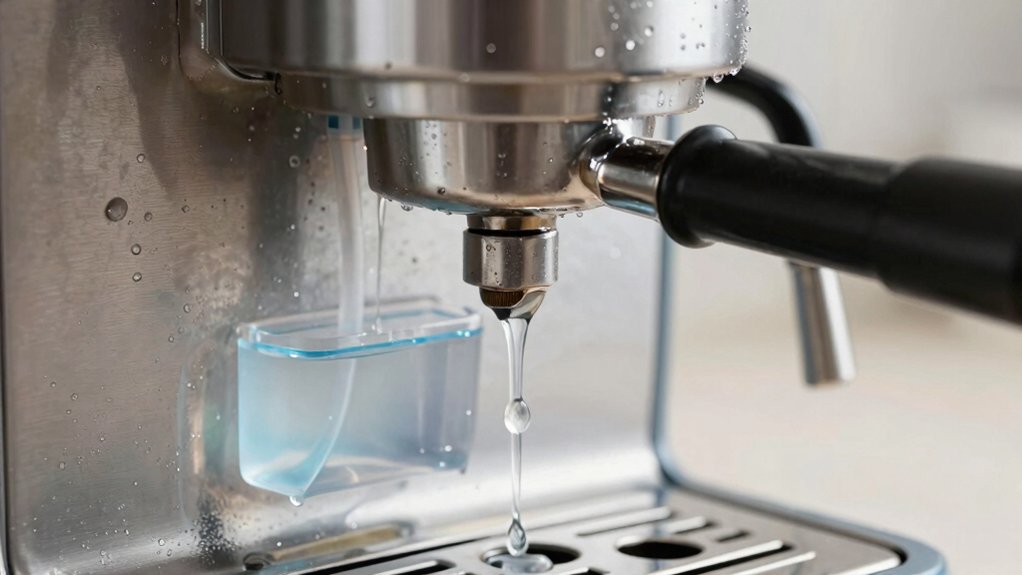
Test your water hardness first—hard water means you’ll need to descale more often, while soft or distilled water slows buildup. Pick a descaling solution that’s safe for your machine’s materials; avoid plain vinegar unless the manual says it’s okay, and follow the exact dilution ratio. Follow the manufacturer’s step‑by‑step guide, protecting flow restrictors and seals, and flush the system thoroughly with clean water afterward. Keep a log of pressure and extraction times, and schedule descaling based on hardness and daily use. Monitoring performance will help you fine‑tune the routine, and the next steps will show you how to keep your espresso consistently great.
Test Water Hardness Before You Descale Your Espresso Machine
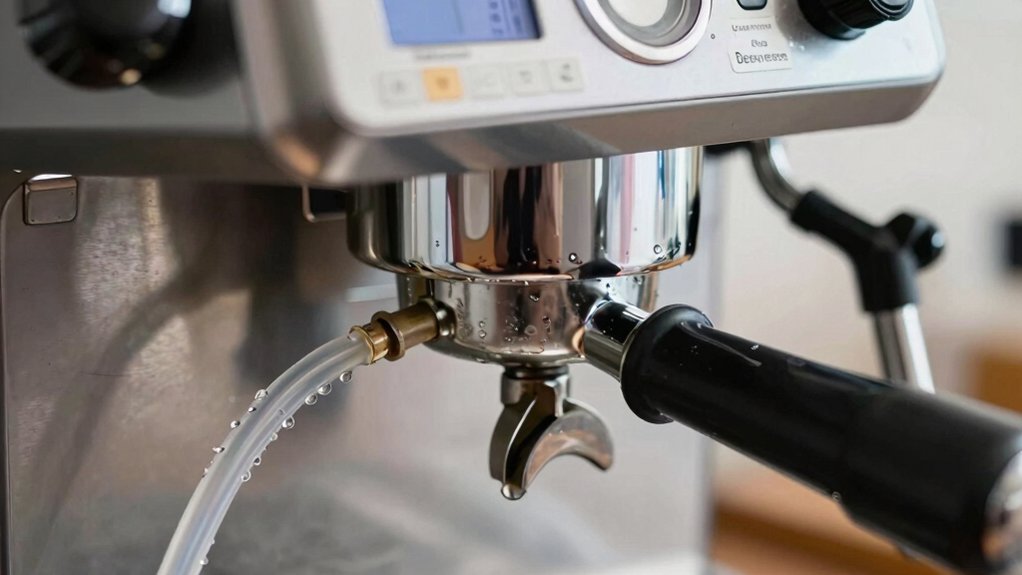
Ever wondered why your espresso machine needs descaling so often? You can answer that by testing water hardness first. Grab a set of test strips or a digital meter and check the mineral content of your tap water. If the reading shows very hard water, expect scale to accumulate quickly inside the boiler and lines, meaning you’ll need to descale more frequently. Soft water, or distilled and mineral‑free water, dramatically cuts down on buildup, preserving flavor and extraction quality. In hard‑water regions, consider installing a water filtration system to soften incoming water before it reaches the machine. Regularly re‑test your water hardness to fine‑tune your descaling schedule and decide whether additional filtration is necessary to minimize mineral buildup.
Choose the Right Descaling Solution for Your Espresso Machine
Which descaling solution fits your espresso machine? You’ll want a product that matches the internal materials, so check the manufacturer’s recommendation for compatibility. A proper descaling solution dissolves mineral buildup without corroding seals or heating elements. Avoid generic vinegar unless the manual explicitly permits it, because it can damage some components. Follow the dilution ratio, run the solution through a brew cycle, then flush thoroughly with clean water.
Open the reservoir and pour the diluted solution.
2. Initiate a brew cycle to let the liquid contact the water line.
3. Pause after the cycle to let the solution sit for the prescribed time.
4. Rinse by running multiple cycles of fresh water to eliminate residue.
Choosing the right solution ensures effective cleaning and protects your machine’s longevity. Extraction/DS content
Follow the Manufacturer’s Step‑by‑Step Descaling Procedure
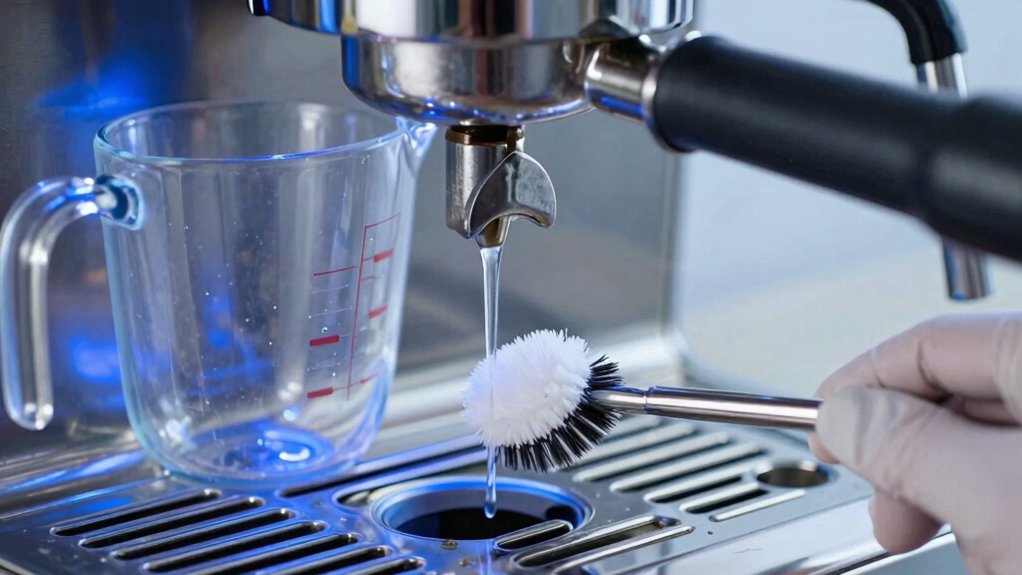
Read the manufacturer’s instructions first, then use the recommended descaling solution exactly as described. Follow each step carefully, especially the rinsing stages, to protect delicate components. Finally, run several tanks of clean water through the machine to flush out any residue. Regular maintenance reduces mineral buildup and extends the life of internal tubing descaling guidance.
Read the Manufacturer’s Instructions
Read the manufacturer’s instructions cover, then follow the descaling procedure exactly as written. The manual tells you which descaling solution to use, how to dilute it, and the timing for each step. Skipping a detail can cause improper dosing or damage. Locate the “Descaling” chapter in the manual. Identify the required descaling solution and dilution ratio. Follow the brew‑cycle timing, pausing 15‑20 minutes as directed. Perform the final rinse and steam‑wand purge if listed. Universal compatibility and brand coverage considerations can influence which tablets or descalers you choose for your machine. Descaling compatibility helps ensure you select a solution that works with your specific model.
Use Recommended Descaling Solution
After checking the manual’s descaling chapter, move on to the solution itself. Grab the manufacturer‑approved descaling solution and pour it into the water reservoir as instructed. Start the brew cycle, letting the solution flow through the brew head to reach every internal passage. Pause for 15–20 minutes so the solution can dissolve mineral buildup. After the soak, run a full tank of clean water to begin the rinse and flush stage, then repeat with another tank to ensure no residue remains. If the manual permits vinegar as a backup, use only the exact amount the maker recommends and never mix it with other cleaners. Finally, purge the steam wand and run a few more tanks of water to complete the descaling procedure. Size and compatibility
Follow Proper Rinsing Steps
Ever wondered why a thorough rinse matters after descaling? You’re about to protect flavor and hardware by flushing out every trace of descaling solutions. Follow the manufacturer’s step‑by‑step procedure, then give your machine a disciplined rinse. Regular descaling and rinsing helps maintain peak performance and prolongs machine life descale frequency as part of routine maintenance.
- Fill the water reservoir with fresh, cold water.
- Run a full brew cycle, letting water flow through the brew head and steam wand.
- Repeat the cycle until the reservoir is empty, ensuring no solution remains.
- Wipe the exterior and dry the reservoir before refilling.
This systematic rinse removes lingering chemicals, prevents corrosion, and guarantees clean espresso. Skipping any step risks residue buildup, off‑tastes, and costly repairs. Keep the process simple, repeatable, and exact.
Safeguard Flow Restrictors and Seals While Descaling Your Espresso Machine
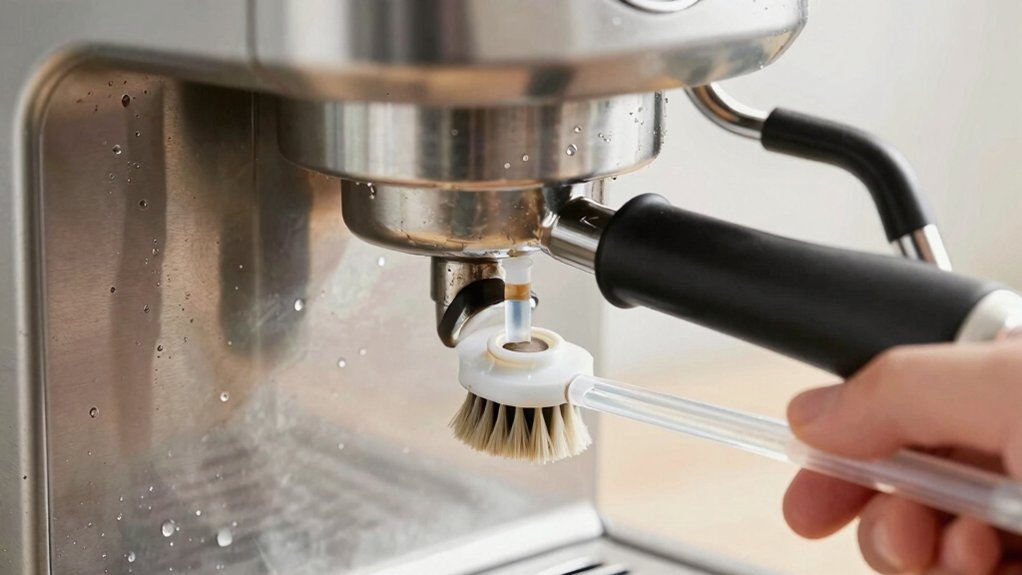
Ever wondered why a tiny, sub‑millimeter flow restrictor can become a bottleneck during descaling? Those sub‑1 mm passages easily trap loosened scale, so you must protect them. Start with a milder descaler to avoid aggressive erosion, and only disassemble when you need to inspect the restrictors and seals. As you work, keep a gentle flushing routine—run clean water through the system at low pressure to sweep away dissolved minerals before they re‑deposit. After the descaling soak, visually examine each flow restrictor and test water flow; any sluggishness signals a blockage that needs another flush. Finally, reseal all components tightly, then run a short brew cycle to confirm the path is clear and pressure is stable. Regular maintenance helps prevent buildup that can affect taste and pressure flow restrictors.
Flush the Espresso Machine System Thoroughly After Descaling
Need you want to guarantee crystal‑clear water flow after descaling, run multiple full reservoirs of clean water through the machine. After the descaling cycle, you’ll notice loosened scale in the water lines, so a thorough flushing restores the flow path and removes any residual acid. Follow these steps for a clean system:
- Fill the reservoir with fresh, filtered water.
- Activate the brew cycle until the tank empties completely.
- Switch to the steam/zero‑pressure valve and repeat the purge.
- Repeat the whole process two more times, swapping reservoirs each round.
Schedule Regular Descaling for Your Espresso Machine
When should you schedule your next descaling? You’ll base your descale schedule on water hardness and how often you pull shots. Very hard water may demand a cycle every few weeks, while softer water lets you stretch to a few times a year. Test strips or a local water‑hardness report tell you if mineral buildup is likely to accelerate. As a rule of thumb, aim for at least one descaling every 3–6 months for home use, and adjust upward if you notice scaling or use a lot of espresso daily.
| Water hardness | Recommended interval |
|---|---|
| Soft (0‑60 ppm) | 6–12 months |
| Moderate (61‑120 ppm) | 3–6 months |
| Hard (121‑180 ppm) | 1–3 months |
| Very hard (>180 ppm) | 2–4 weeks |
Follow the manufacturer’s solution instructions, run the brew cycle, let the solution dwell, then flush with clean water to keep your machine performing at its best.
Monitor Espresso Machine Performance and Adjust Descaling Frequency
You’ll notice pressure fluctuations when scale builds up, so keep an eye on the gauge during each shot.
If the extraction feels uneven or the brew time drifts, that’s a clear sign the water path needs cleaning.
Adjust your descaling schedule based on those cues, shortening the interval when performance drops and extending it when everything runs smoothly.
Track Pressure Fluctuations
A steady 8–11 bar pressure is the heartbeat of a good espresso, so watching for any wobble during and after descaling tells you whether the machine’s flow path is still clear. When you notice a dip or spike, it usually points to clogged flow restrictors or lingering scale. Keep a pressure gauge handy, run a short brew cycle, and note the numbers before, during, and after descaling. Compare those readings to spot trends and decide if you need another descaling pass or a deeper cleaning.
- Observe the baseline pressure before any treatment.
- Record the pressure while the descaling solution runs.
- Measure the pressure immediately after flushing.
- Re‑check after a few normal brews to confirm stability.
Staying vigilant prevents pump strain and maintains consistent extraction.
Observe Extraction Consistency
Is the espresso tasting uneven or pulling too fast after a descaling cycle? You should watch extraction consistency closely.
After you descale water lines, run a few shots and note brew time, pressure, and flavor balance. If the flow feels erratic, the descaling solution concentration may have been too high, damaging seals or clogging flow restrictors. Too low a concentration leaves scale behind, causing uneven pressure and weak extraction.
Adjust the solution strength according to the manufacturer’s guidelines, then flush the system thoroughly with fresh water. Keep a log of shot times and taste notes; a pattern of rapid pulls or thin crema signals you need to tweak the descaling routine before the next cleaning. This proactive monitoring protects pumps, sensors, and valves while ensuring reliable espresso performance.
Schedule Descaling Intervals
When should you actually descale your espresso machine? You’ll know by watching flavor drop, extraction time lengthen, or pressure wobble—signs that mineral buildup is creeping in. Adjust descaling intervals based on those cues and your water hardness. Light home use with soft water lets you stretch the schedule, while daily bar work in hard water forces you tighter. Keep a simple checklist handy:
- Test water hardness with inexpensive strips.
- Record extraction time and pressure each week.
- Compare performance to your baseline taste.
- Set the next descaling date accordingly.
If you notice a slowdown, act sooner; otherwise, stick to the manufacturer’s guidance. This proactive monitoring prevents costly repairs and keeps every shot crisp.
Frequently Asked Questions
How to Descale Plumbed in Espresso Machine?
You’ll mix one part citric acid with two parts water, run it through the plumbed lines, let it sit five minutes, then flush several full tanks of clean water to clear any dissolved scale.
What Is the 30 Second Rule for Espresso?
You flush the group head and lines for about thirty seconds before brewing, clearing stale water and any descaling residue, ensuring clean flow, preventing leaks, and guaranteeing a pure shot.
How to Descale Coffee Machine Pipes?
You’ll mix one part citric acid with two parts water, run it through the machine for ten minutes, then flush with plenty of clean water, repeating until the water runs clear.
How to Clean Espresso Machine Lines?
You’ll flush the lines with a 1:2 citric‑acid solution, run it through the pump for ten minutes, then rinse repeatedly with soft water, checking flow restrictors and replacing any clogged parts.
In Summary
By testing water hardness, picking the right solution, and following the maker’s steps, you’ll keep your espresso machine humming. Protect the flow restrictors and seals, then flush the system thoroughly after each descaling. Schedule regular descaling and watch performance to tweak frequency as needed. With these habits, you’ll enjoy consistent, great‑tasting espresso and extend your machine’s lifespan.


