
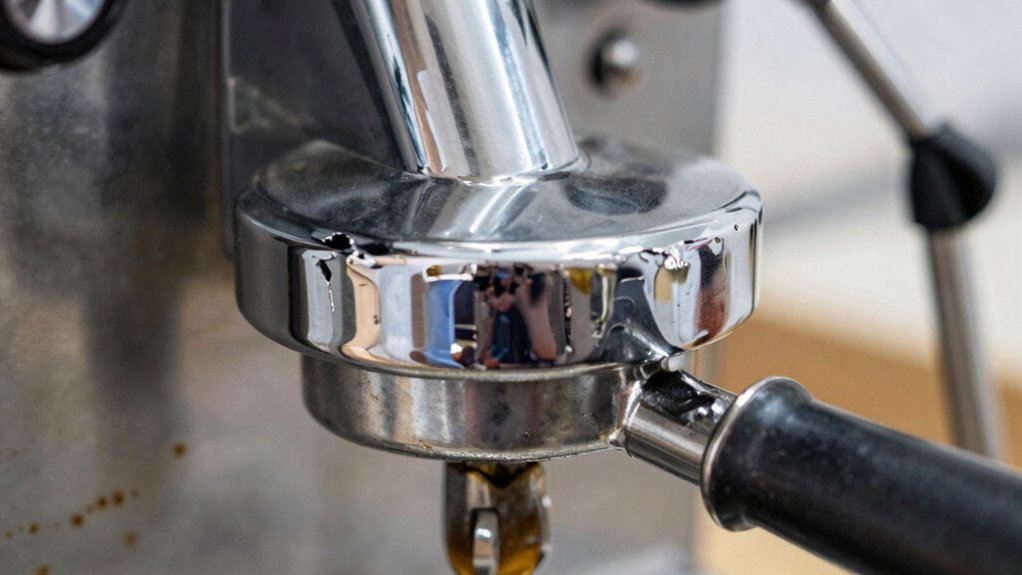
Replace your espresso group gasket every three months in most cafés, but you can stretch it to about a year in a 24/7 shop if it stays supple. Watch for a rock‑hard feel, cracks, or bake‑on buildup that forces an earlier swap, and keep a spare on hand to avoid downtime. Feel the gasket during cleaning; a quick squeeze should be even and supple. Use an adjustable collar lever or silicone‑coated puller for stubborn gaskets, and warm them briefly to soften residue. Install the new gasket with the beveled side up, press it flush, and reassemble fingertip‑tight. If the screen looks fouled or the screw is worn, replace them together. Following these tips will keep your espresso flowing smoothly, and the next steps will show you how to extend gasket life even further.
How Often Should You Replace the Espresso Group Gasket?
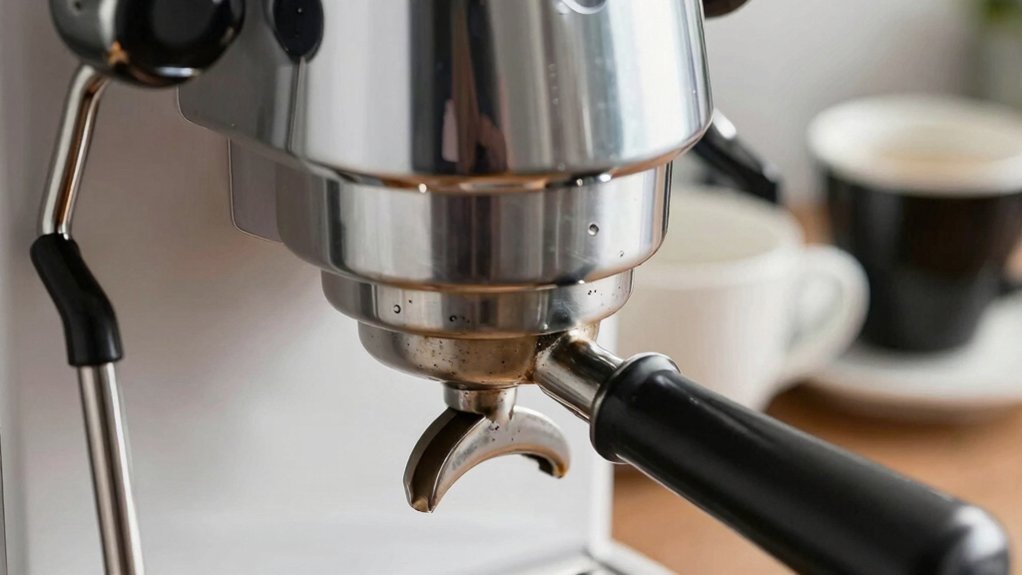
How often should you replace the espresso group gasket? You’ll find that a three‑month gasket replacement frequency works best for most cafés, keeping the seal tight and water flow consistent. If you run a 24/7 shop, you might stretch that to about a year, but watch for bake‑on buildup that forces an earlier swap. Keep a spare gasket handy so you can swap it out without halting service. When the old gasket feels hard or brittle, it will fragment during removal, a clear sign it’s time to replace. Even before it cracks, an aged gasket can cling to the group head, making extraction painful and increasing urgency. Stick to the schedule, and your espresso will stay smooth and reliable. Regular maintenance supports multi-brand compatibility and upholds the machine’s performance benchmarks breville maintenance.
What Signs Show Your Espresso Gasket Is Hard, Cracked, or Leaking?
Ever notice a rubbery ring that feels rock‑hard or cracks when you pull it out? That’s classic gasket wear, and it signals trouble. When the gasket becomes brittle, it crumbles into chunks as you remove it, leaving shards that cling to the groove. You’ll also see cracks circling the circumference and a loss of elasticity, especially after coffee residues bake on it. If the ring is chipped or cracked, it can’t seal properly, so water leaks past during extraction, resulting in a thin, watery shot. Keep an eye on these visual cues and feel for hardness; they’re the first warning signs that the gasket is failing and needs replacement. Regular inspection and timely replacement help maintain optimal pressure and flavor, preventing performance drops over time rubber grips on bottom from the broader countertop organizer guidance.
How to Inspect Your Espresso Gasket During Routine Cleaning?
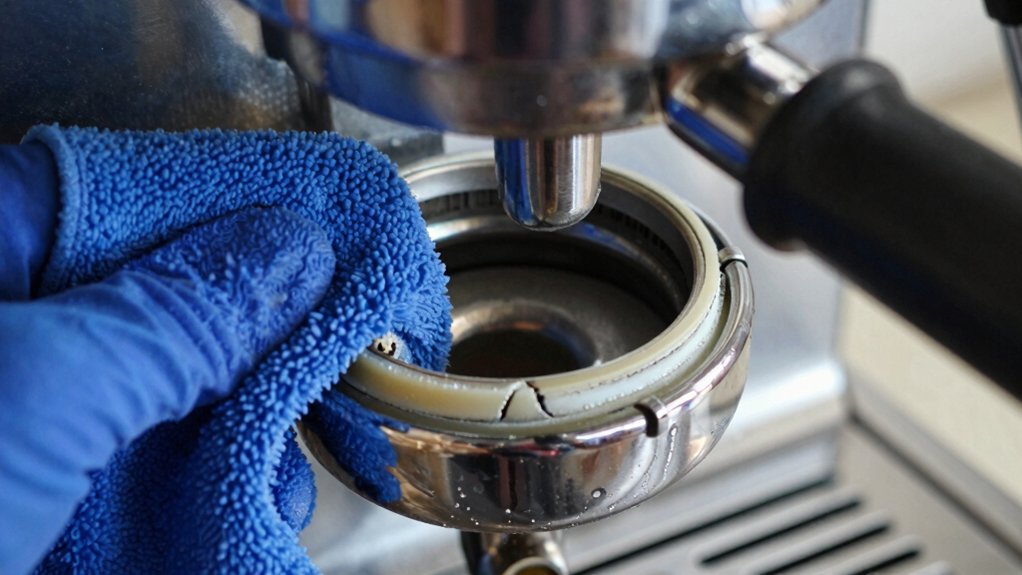
When you clean your machine, take a moment to feel the gasket for any loss of give or brittleness. A quick squeeze should reveal a supple, even resistance; if it feels hard or cracks under pressure, you know it’s deteriorating. After you’ve removed coffee grounds, pull the portafilter out and inspect the gasket’s surface. Look for chunks, pieces, or any signs of hardening that could compromise the seal. Finally, reseat the portafilter and verify the gasket sits flush around the group head, ensuring an even seal before the next extraction.
- Press the gasket gently to test flexibility.
- Examine the entire circumference for cracks or missing pieces.
- Reseat the portafilter and confirm the gasket aligns evenly.
To help prevent leaks, regularly check that the gasket remains properly seated and replace it when you notice persistent wear or damage gasket integrity.
What Tools Are Needed to Remove a Stubborn Baked‑On Espresso Gasket?
You’ll need an adjustable collar lever that fits over the dispersion screen and a silicone‑coated ring pull to grip the gasket securely. A rust‑resistant, dishwasher‑safe approach helps preserve the metal housing during regular gasket replacements, especially when working with aluminum alloy funnels. gasket safety
Adjustable Collar Lever
If a gasket is baked onto the group head, an adjustable collar lever is the most efficient tool to grip and pull it free without damaging the surrounding metal. You’ll slide the collar over the dispersion screen, lock it in place, and use the lever’s thin steel notch to pry the gasket out. The design gives you leverage while protecting the metal, and the notch aligns with the E61 groove for a clean pull. After the gasket loosens, run a pick around the groove to clear fragments, then replace it with a fresh one. The process benefits from ensuring you have a clean groove and checking for any debris that could affect seal integrity temperature compensation and performance.
Silicone‑Coated Ring Pull
A silicone‑coated ring pull adds extra grip, but the gasket can still cling stubbornly to the group head. To tackle a baked‑on gasket, grab a gasket removal tool with adjustable collars that slides over the dispersion screen, preventing gouges as you pull. If the gasket is especially tenacious, use a scratch awl or O‑ring pick to pry gently from the groove without marring the metal. Warm the area with a brief burst of heat or soak the group head in espresso cleaner to soften carbonized rubber. Wear eye protection and work slowly; chunks can scatter once the seal finally releases. When the screen is held by the gasket, replace it during removal to avoid tearing the old gasket and to ensure a clean seat for the new one. Regular practice with the right tools reduces damage and extends the life of your espresso setup gasket maintenance.
Step‑by‑Step Guide to Installing a New Espresso Group Gasket
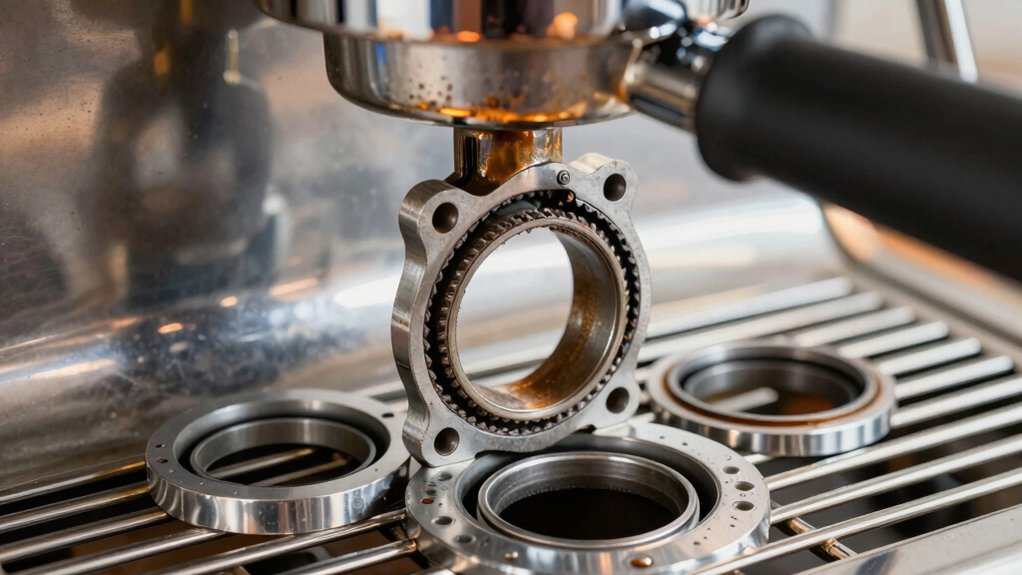
Ever wondered how to swap a worn espresso group gasket without a hassle? You’ll start by removing the portafilter, then loosen the group diffuser screw and screen. Soak the screen and screw in hot water with espresso cleaner, then set them aside. Use a pick or scratch awl to pry the old espresso gasket from its groove, making sure every fragment is gone. Clean the groove thoroughly, clearing coffee residue and debris.
Swap the worn espresso group gasket: remove portafilter, loosen screw, soak, pry out old gasket, clean groove, seat new gasket.
- Prep the new gasket – orient the beveled side up.
- Seat the gasket – press it in a circular motion until it sits flush.
- Reassemble – reinstall the screen and screw, tighten fingertip‑tight, then seat the portafilter and verify alignment at the 6 o’clock position. Gasket installation
Should You Replace the Espresso Screen and Screw When You Change the Gasket?
When you pull the old gasket, check if the screen comes out with it—if it does, replace the screen at the same time. Tighten the diffuser screw just enough to hold the screen firmly without stripping the threads, following the manufacturer’s torque guidelines. If the screen stays in place, still inspect it for fouling and consider swapping the screw if it shows wear, then verify the portafilter seal before brewing.
Screen With Gasket
Wondering whether you need to replace the espresso screen and screw when swapping the gasket? If your machine holds the screen with the gasket, you’ll remove both together. That means a new gasket usually comes with a new screen to keep the seal tight. Even when a screw secures the screen, you should take out the screw, pull the screen, clean everything, then reinstall the screen with the fresh gasket. Reusing an old screen can work, but inspect it for wear, fouling, or cracked backplate first. Replacing both components is the safest route to avoid leaks and misalignment.
- Remove the gasket and attached screen together.
- Inspect the screen for damage before reusing.
- Install a new screen whenever you fit a new gasket.
Screw Tightening Guidelines
Should you replace the espresso screen and screw when swapping the gasket? If the group gasket is hard or brittle, you’ll need a new screen because many machines hold the screen with the gasket itself. When you pull the old gasket, the screen comes out too, so install a fresh screen during reassembly.
First, soak any diffuser screw and screen in hot water with espresso cleaner to clear residue. Then seat the new gasket with the beveled side up, into the group. After placing the screen, tighten the group head screw only fingertip‑tight; over‑tightening can warp the gasket or damage the group head. No additional lubrication is required, just a clean, snug fit for a reliable seal.
When To Replace Together
Ever wonder if you need to swap the espresso screen and screw along with a new group gasket? If the group gasket is hard or brittle, it often breaks apart and you’ll want to replace the screen and screw at the same time for a solid seal. Machines where the screen mounts on the gasket will lose the screen when you pull the gasket out, so you naturally replace both. Even when the screen isn’t gasket‑mounted, a fouled or worn screen can cause leaks, so swapping it together with a fresh gasket and screw is a safe habit.
- Inspect the gasket for cracks or brittleness.
- Check the screen’s condition; replace if fouled or worn.
- Install a new screw, ensuring the gasket aligns perfectly in the groove.
How to Extend Espresso Gasket Life and Avoid Premature Wear?
Ever wondered how to keep your espresso gaskets from failing early? You can lengthen their life by inspecting weekly, cleaning the groove thoroughly, and using a circular, even‑seating method when you do a gasket replacement. Keep a spare on hand, and change it prevent if you notice hardening, brittleness, or cracks. Avoid bake‑on buildup by wiping away coffee oils after each shot, and never let debris linger in the channel.
| Step | Action | Why |
|---|---|---|
| 1 | Inspect gasket | Spot hard, brittle, cracked pieces |
| 2 | Clean groove | Remove residue for proper seal |
| 3 | Seat new gasket evenly | Ensure uniform pressure |
| 4 | Press portafilter | Verify alignment |
| 5 | Keep spare | Prevent unexpected failure |
Follow these habits, and you’ll reduce premature wear while maintaining consistent pressure.
Frequently Asked Questions
How Often Should I Change Espresso Gaskets?
You should swap espresso gaskets roughly every three months in busy shops, but monitor wear and leaks—if you notice under‑extraction or water bypass, replace them sooner, and keep a spare on hand.
What Is the 30 Second Rule for Espresso?
The 30‑second rule means you lock the portafilter, then within thirty seconds check for any hissing, steam, or drips around the gasket; if anything leaks, reseat or replace the gasket before brewing.
How Do I Know When to Replace a Gasket?
You know it’s time when the gasket feels hard, brittle, or cracks, and if you see chunks falling out. Remove any fragments, then replace it to keep a tight, leak‑free seal.
What Are the First Signs of a Bad Gasket?
You’ll notice brittle, crumbling pieces when you pull the gasket out, carbon‑blackened surfaces that hide the seal, uneven spray or pressure, and a portafilter that won’t lock tightly.
In Summary
By keeping an eye on wear, inspecting regularly, and swapping the gasket before it cracks or leaks, you’ll maintain consistent pressure and flavor. Use the right tools, follow the step‑by‑step install, and consider replacing the screen and screw at the same time for best results. With proper care, your espresso group will stay reliable longer, saving you both time and money.


